How Does Deaeration Work in a Vacuum Emulsifier? Matching Vacuum, Homogenizing and Stirring Sequence
10/14/2026
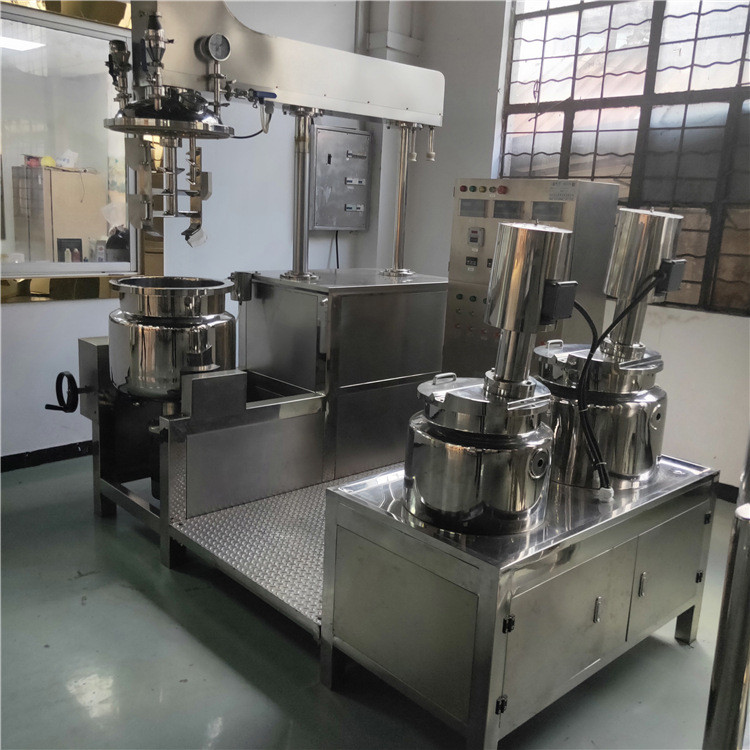
Compared with an ordinary emulsifier, a vacuum emulsifier has one key difference: a vacuum system. After feeding, draw vacuum first so the pressure in the tank drops to negative pressure; bubbles expand and rise under low pressure, and low-speed stirring carries them to the surface to burst; finally the homogenizing head finishes shear refining below the liquid surface. The three stages are all necessary and the order must not be reversed. This article explains the principle and parameter control of each stage, helping operators and buyers understand the deaeration logic in the emulsifying process.
Where Do Bubbles Come From? Entrained by Feeding, Powder and Stirring
One-line conclusion: most bubbles are brought in during feeding and stirring, not naturally present in the raw material.
Powder is usually pre-mixed and wetted in a mixing tank before being pumped into the emulsifier; when added to the liquid surface, it wraps air into the liquid, the vortex formed by high-speed stirring also pulls gas in, and transfer and return piping can entrain air as well. Bubbles mixed into the liquid affect the appearance after emulsification (surface foam, internal pinholes), density and storage stability. The purpose of vacuum deaeration is to discharge as much gas as possible before emulsification is complete, rather than fixing problems after the finished product is made.
How to Set Vacuum? By Material Viscosity and Volatility
One-line conclusion: the working vacuum of an emulsifier is generally -0.06 to -0.09MPa; viscous materials need higher vacuum and longer deaeration time.
The higher the vacuum, the more the bubbles expand and the easier they rise and burst; but too high a vacuum carries away light components (flavors, solvents) or causes splashing. Bubbles rise slowly in high-viscosity pastes, which need higher vacuum and longer slow stirring. Common industry experience: water-based emulsions take -0.06 to -0.08MPa, high-viscosity pastes -0.08 to -0.095MPa; final values are set by bench trials.
| Material type | Reference vacuum | Deaeration time reference | Note |
|---|---|---|---|
| Low-viscosity emulsion | -0.06 to -0.07MPa | 5-10 min | Bubbles rise easily |
| Medium-viscosity paste | -0.07 to -0.085MPa | 10-20 min | Combine with slow stirring |
| High-viscosity sealant type | -0.085 to -0.095MPa | 20-40 min | Need stirring to turn over |
The table is a common industry reference; the actual process is set by trials.
Why Slow Stirring Before Homogenizing? Let Bubbles Rise Instead of Being Broken
One-line conclusion: slow stirring first lets large bubbles coalesce and rise; the high-speed homogenizing head would break bubbles into finer ones, so reversing the order makes deaeration harder.
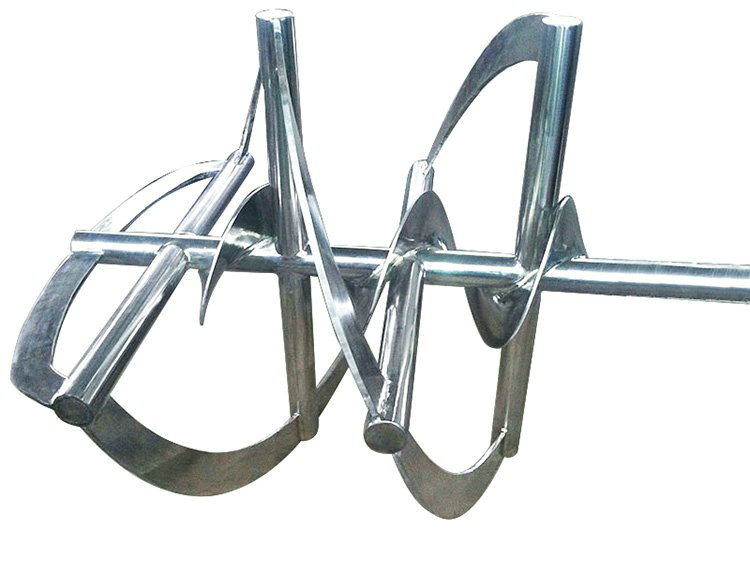
The homogenizing head speed is generally 1500-3000r/min and would cut large bubbles into countless fine ones; fine bubbles have less buoyancy and are harder to burst, and they also raise the perceived viscosity. So first run at low speed (generally 30-100r/min) to let bubbles coalesce and rise to the surface, then start homogenizing. This is why vacuum emulsifiers carry independent stirring and homogenizing drives: speeds are set separately, so deaeration and emulsification do not interfere.
The Homogenizing Head Works Below the Liquid Surface: Refining Without Re-entraining Air
One-line conclusion: the homogenizing head must run submerged below the liquid surface and avoid vortex air intake, so it can refine without bringing in new bubbles.
The homogenizing head is a rotor-stator structure with high linear speed; if the liquid level is too low or an eccentric position forms a vortex, air is drawn back into the liquid. In operation, generally keep the liquid level 100-200mm above the homogenizing head, maintain vacuum in the tank, and reduce stirring speed during homogenizing to avoid vortexes. Homogenizing time follows the formula, generally 10-30 minutes, judged by fineness and uniformity rather than a fixed full time.
What Is the Sequence? Draw Vacuum, Slow Stir, Homogenize, Then Break Vacuum
One-line conclusion: the standard order is feeding, vacuum drawing, slow-stirring deaeration, homogenizing, a second vacuum if needed, then vacuum break and discharge.
This order ensures that the vacuum stage discharges most gas first; the slow-stirring stage lets bubbles rise and burst; the homogenizing stage refines in a low-gas environment for a more stable emulsion; after homogenizing, vacuum is held for a short time so newly generated bubbles rise again. When breaking vacuum, feed air or nitrogen slowly to prevent splashing and back-mixing. After emulsification, the liquid is usually sent to a downstream mixing tank or directly to the filling station.
How Long Should the Vacuum Be Held? Vacuum Level and Deaeration Efficiency
One-line conclusion: reaching the vacuum level is only the precondition; the key is the hold time: generally draw vacuum for 5-15 minutes to let bubbles rise and burst, and the higher the material viscosity, the longer the hold time.
Drawing vacuum lowers the tank pressure to 0.02-0.09MPa (depending on the material); dissolved gas and entrained bubbles expand and rise under low pressure and burst at the surface. The rising speed of bubbles is inversely proportional to material viscosity: the higher the viscosity, the slower the rise, so high-viscosity pastes need a longer vacuum hold. A higher vacuum is not always better: excessive vacuum loses light components and moisture by evaporation, which matters especially for fragrance and solvent materials. In practice, control by "hold for N minutes after the vacuum level is reached" rather than stopping the pump as soon as vacuum is drawn.
Deaeration Methods Compared: Vacuum, Settling and Defoamer
One-line conclusion: vacuum deaeration suits continuous in-batch deaeration, settling suits a small amount of residual bubbles, and defoamer suits stable foams that are hard to break; the three can be combined.
Vacuum deaeration is efficient and introduces no new components, making it the mainstream choice for emulsifiers; settling is simple but takes time and affects batch rhythm, suitable for residual bubbles; defoamer works fast on stable foams but changes the surface properties of the system, so food and pharmaceutical formulations need careful evaluation. Practical processes usually use vacuum deaeration as the main method, settle for a few minutes before discharge to finish, and consider defoamer only for stable foams. When choosing a method, first judge the bubble source and stability: bubbles from stirring are easy to remove, while surfactant-stabilized foams are hard to remove.
How to Judge That Deaeration Is Done? Liquid Surface, Bubbles and Homogenizer Current
One-line conclusion: no visible bubble rolling on the liquid surface, no fine bubbles in the sample, and a stable homogenizer current are three intuitive signals that deaeration is complete.
Judgment of complete deaeration: through the sight glass, the surface stops rolling and becomes flat; in a tilted beaker sample, no fine bubbles rise; the homogenizer current stays stable, meaning gas entrainment entering homogenization has greatly reduced. These judgments can be quantified into an SOP: vacuum hold time, surface settling time and sample bubble count written into the process card, avoiding switching steps by feeling. A common workshop problem is "it looks bubble-free", while the bubbles were actually broken into micro-bubbles by high-speed stirring and only float up after settling, so keep a low-speed stable period after deaeration before sampling.
How to Configure the Vacuum System? Vacuum Pump, Condenser and Piping
One-line conclusion: vacuum pump selection depends on pumping speed and ultimate vacuum; water-ring pumps are common, rotary vane pumps suit higher vacuum; solvent materials need a condenser for recovery.
The vacuum system configuration decides the deaeration result: a water-ring pump reaches about 0.097MPa ultimate vacuum (absolute pressure of 3kPa level), suitable for most pastes and emulsions; a rotary vane pump can reach higher vacuum but tolerates moisture poorly, so gas-liquid separation and a condenser are needed upstream. When solvent or fragrance materials are evacuated, light components are carried away; a condenser on the vacuum line recovers them, protecting the pump and reducing formulation loss. The pipe diameter must match the pumping speed: too long or too thin slows down evacuation; the tank-top vacuum port should be as centered as possible to avoid local suction dragging liquid into the line.
How Do Deaeration Temperature and Stirring Speed Work Together? Lowering Viscosity and Slow Stable Flow
One-line conclusion: moderately raising the temperature lowers viscosity and speeds up deaeration, but the stirring speed should stay low: generally 30-50% of the working speed during deaeration, combining heating with slow stirring.
Temperature and viscosity are linked: viscosity drops with rising temperature, and a 10-20℃ rise often lowers viscosity noticeably so bubbles float faster; but heating must stay within the formulation limit, and heat-sensitive materials should not be kept at high temperature long. Speed is equally critical: during deaeration the stirring speed is generally 30-50% of the normal emulsifying speed; too low and the liquid does not circulate and the upper layer deaerates unevenly, too high and air is re-entrained. In practice: first heat to the lower process temperature limit, then draw vacuum and stir slowly for 5-15 minutes, and only after bubbles visibly decrease gradually raise the speed into homogenization. Write speed and temperature into the process card and keep them consistent across batches for stable deaeration.
Common Problem: Bubbles Still on the Surface After Emulsifying, Where Is the Fault?
One-line conclusion: it is usually insufficient vacuum, too short deaeration time, or too low liquid level causing air intake by homogenizing; check along these three lines.
Check order: first vacuum - insufficient pump suction or tank seal leakage means the negative pressure does not reach the set value; second time - high-viscosity materials with too short deaeration time leave bubbles no time to rise; third liquid level - too little liquid exposes the homogenizing head or forms a vortex that sucks air. In daily maintenance, check the filters and valves on the vacuum line and clean them regularly to avoid suction loss.
Practical Advice: Write Deaeration Parameters into the Process Card
One-line conclusion: write the four groups of parameters, namely vacuum level, hold time, temperature and stirring speed, into the process card and execute every batch at the same rhythm so that deaeration results can be reproduced steadily.
When implementing, break the deaeration stage into a four-line process card: target vacuum, vacuum hold time, deaeration temperature and stirring speed level, each with a standard value and an allowed fluctuation range. When changing materials or formulas, first confirm these four lines in a small trial and then scale up to production batches; the workshop executes by the card rather than by feel. Add one sampling check before discharge: tilt a beaker to look at bubbles and observe surface rolling; only when both pass may the next step proceed. This turns vacuum deaeration from a "skill by experience" into a "skill by parameters", significantly improving batch-to-batch consistency and reducing complaints and rework.
Further Reading
- How to Choose a Vacuum Emulsifier Unit? Configuration Points for Paste, Emulsion and Pharmaceutical Conditions
- How to Choose an Emulsifier Homogenizing Head: Rotor-Stator Structure and Process Matching Points
This article is provided by Haolin Shengda Equipment Manufacturing Co., Ltd. (hyline.cn), specializing in stainless steel reactors, mixing tanks, storage tanks, dispersers, concentrators and complete chemical line support, with non-standard customization available.
Q&A from this article
Frequently asked questions and answers from this article
Deaeration in a vacuum emulsifier relies on the sequence of vacuum, stirring and homogenizing: draw vacuum first, stir slowly to let bubbles rise and burst, then homogenize below the liquid surface. This article explains the principle and control points of each stage.
Related Products
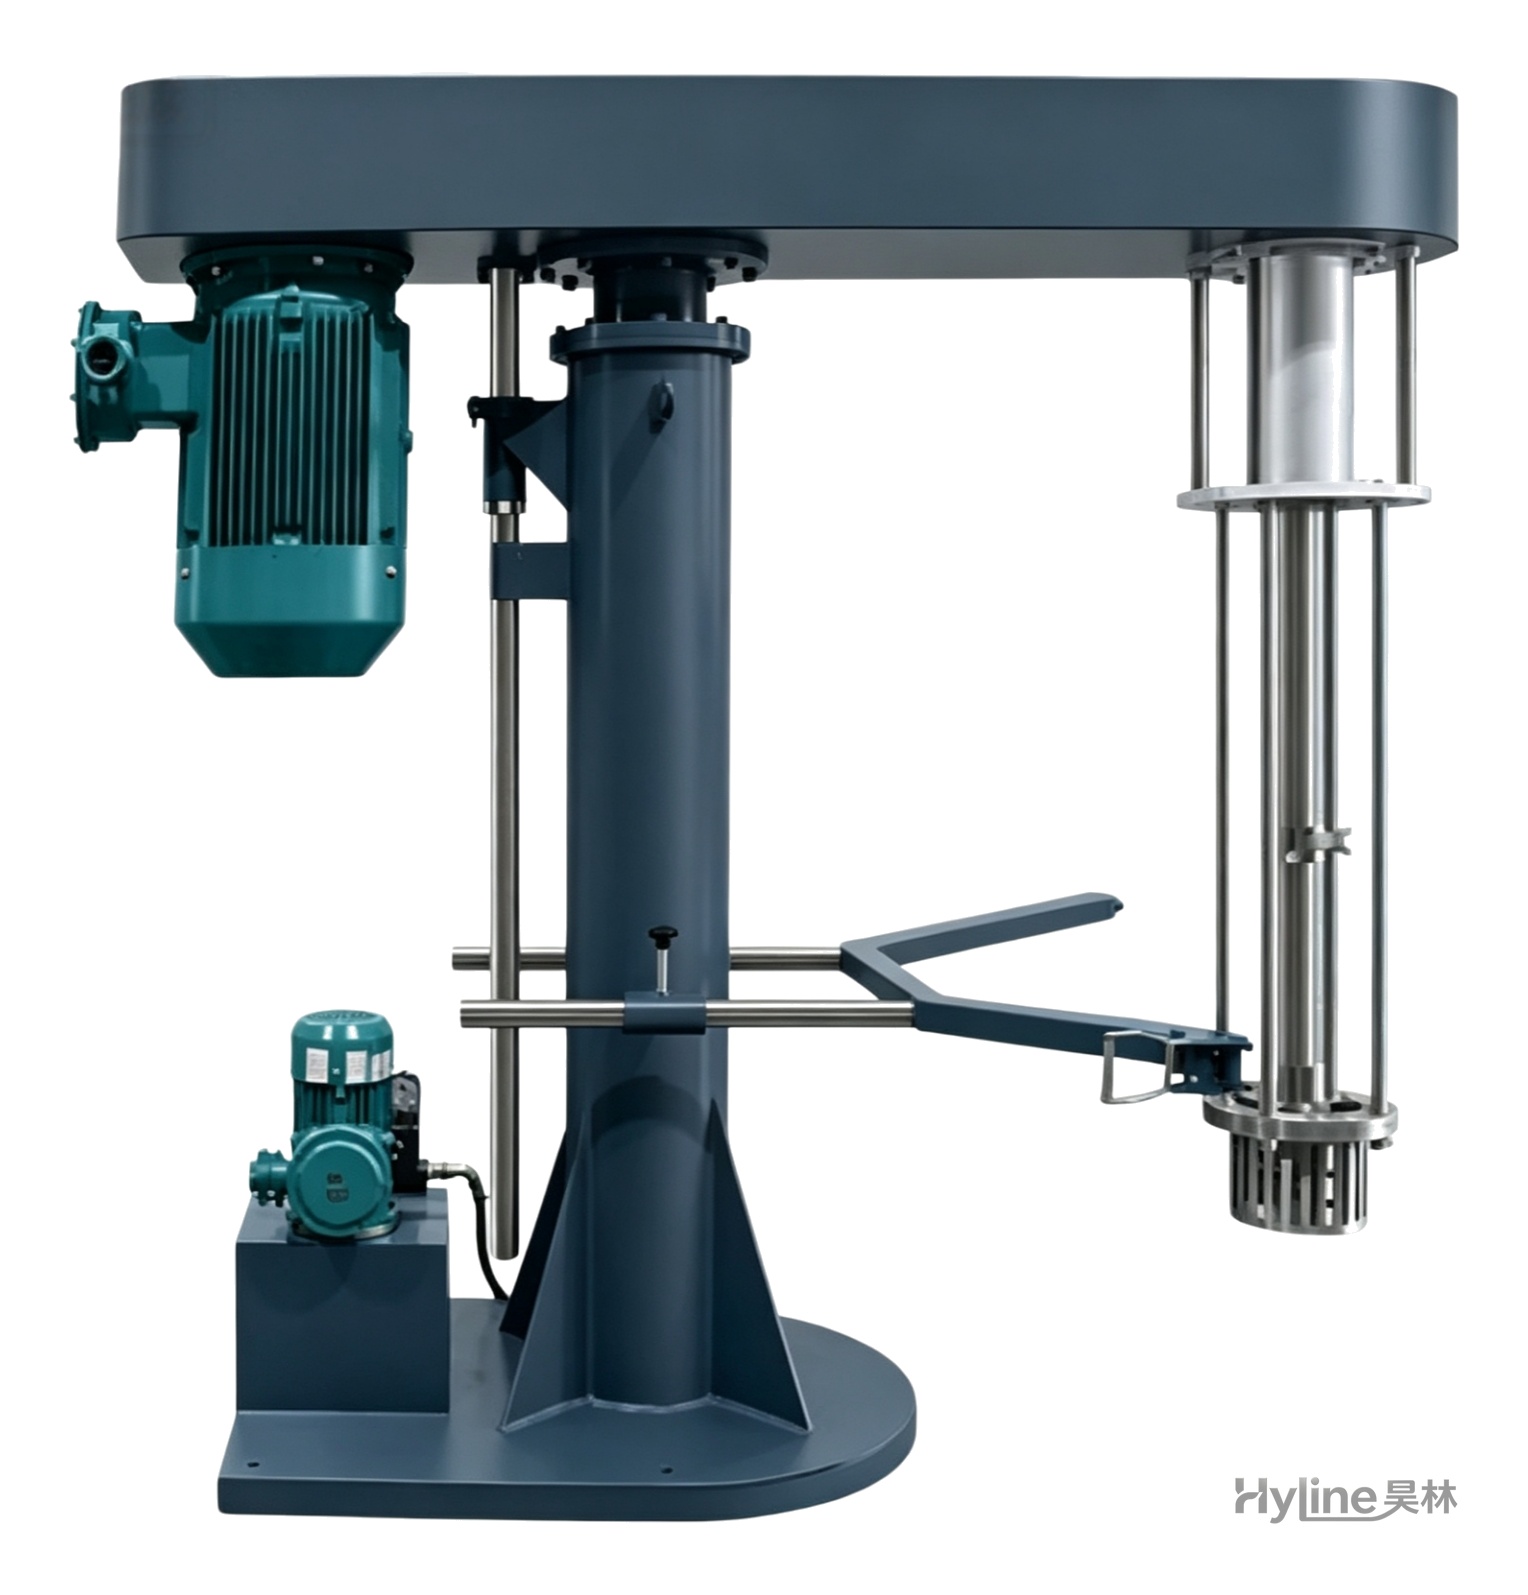
GJD Series Emulsifying Disperser
For emulsification, mixing and dispersion in coatings, inks, pesticides and papermaking. Powerful high-speed shear achieves required fineness and uniformity in a short time.
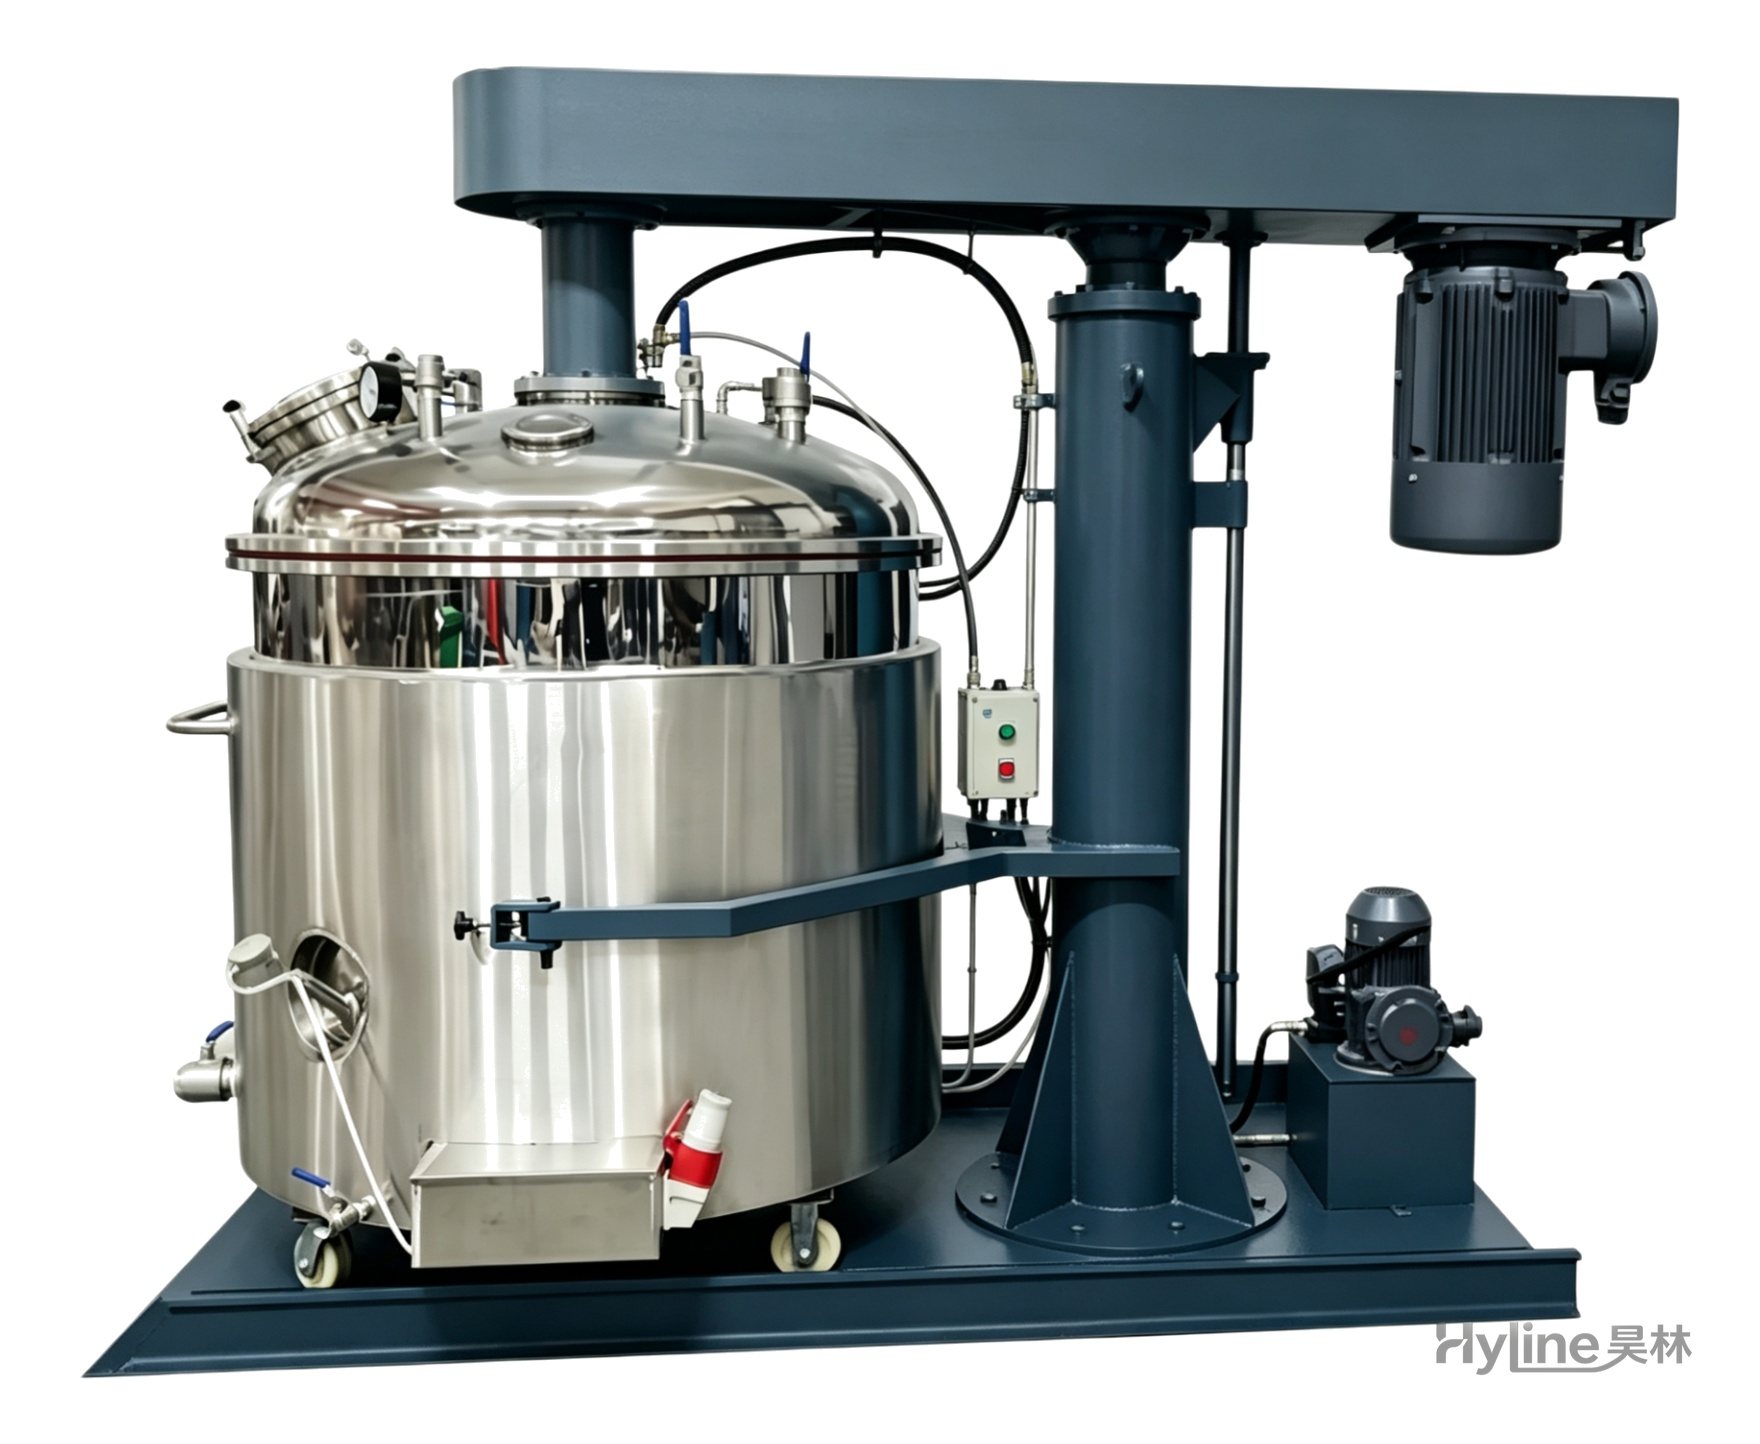
FL Series Vacuum Disperser
Designed for bubble-rich materials and volatile solvents. Vacuum dispersion reduces bubbles and solvent evaporation, accelerates fineness and rapidly defoams. Simple structure, high vacuum, easy operation.
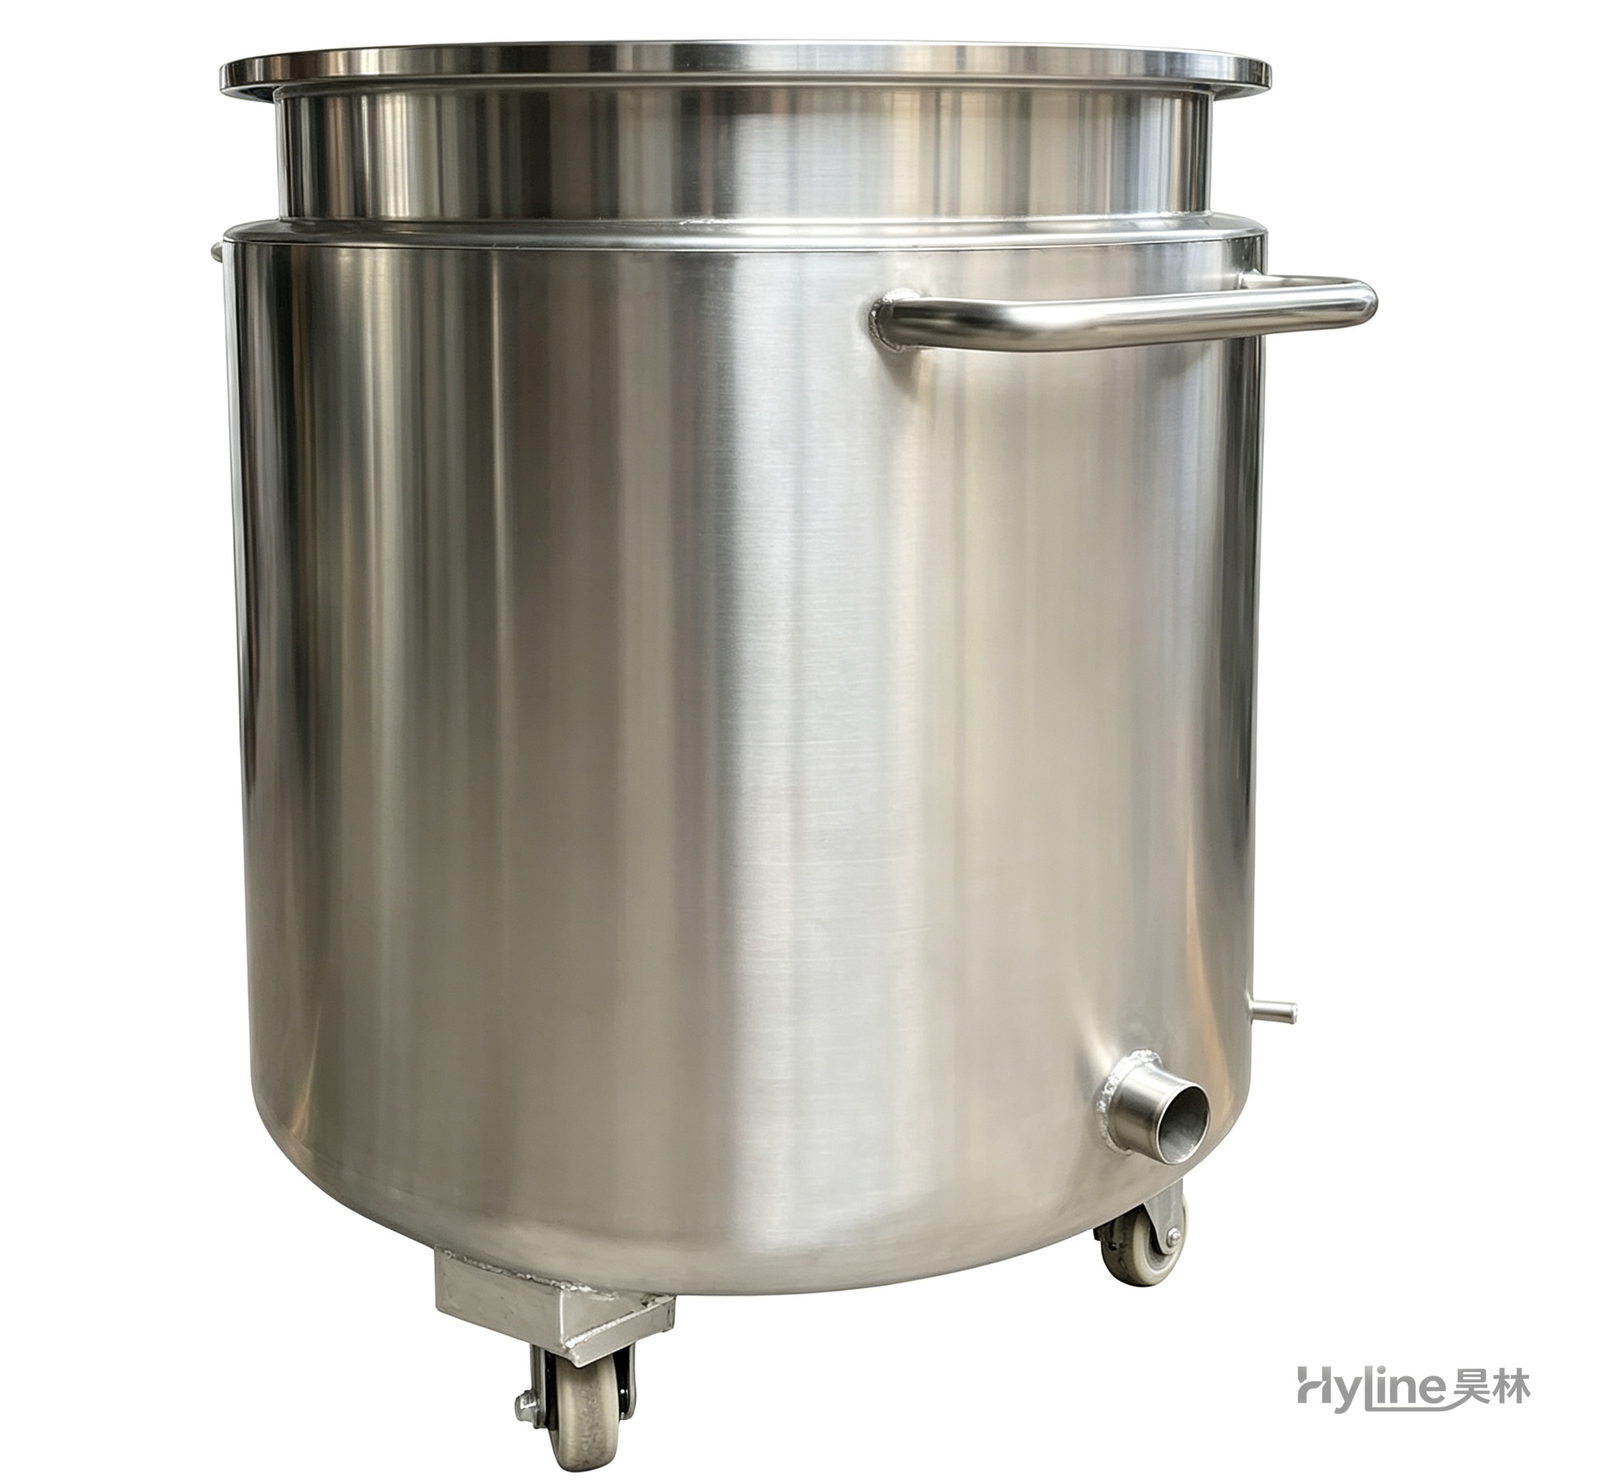
Stainless Steel Mixing Tank (Dispersion Drum)
Supporting vessel for dispersers and mixers in paints, coatings, adhesives, color slurries, inks and electronics. Available in 201/304 stainless with internal/external polishing and sloped bottom side discharge for complete draining.
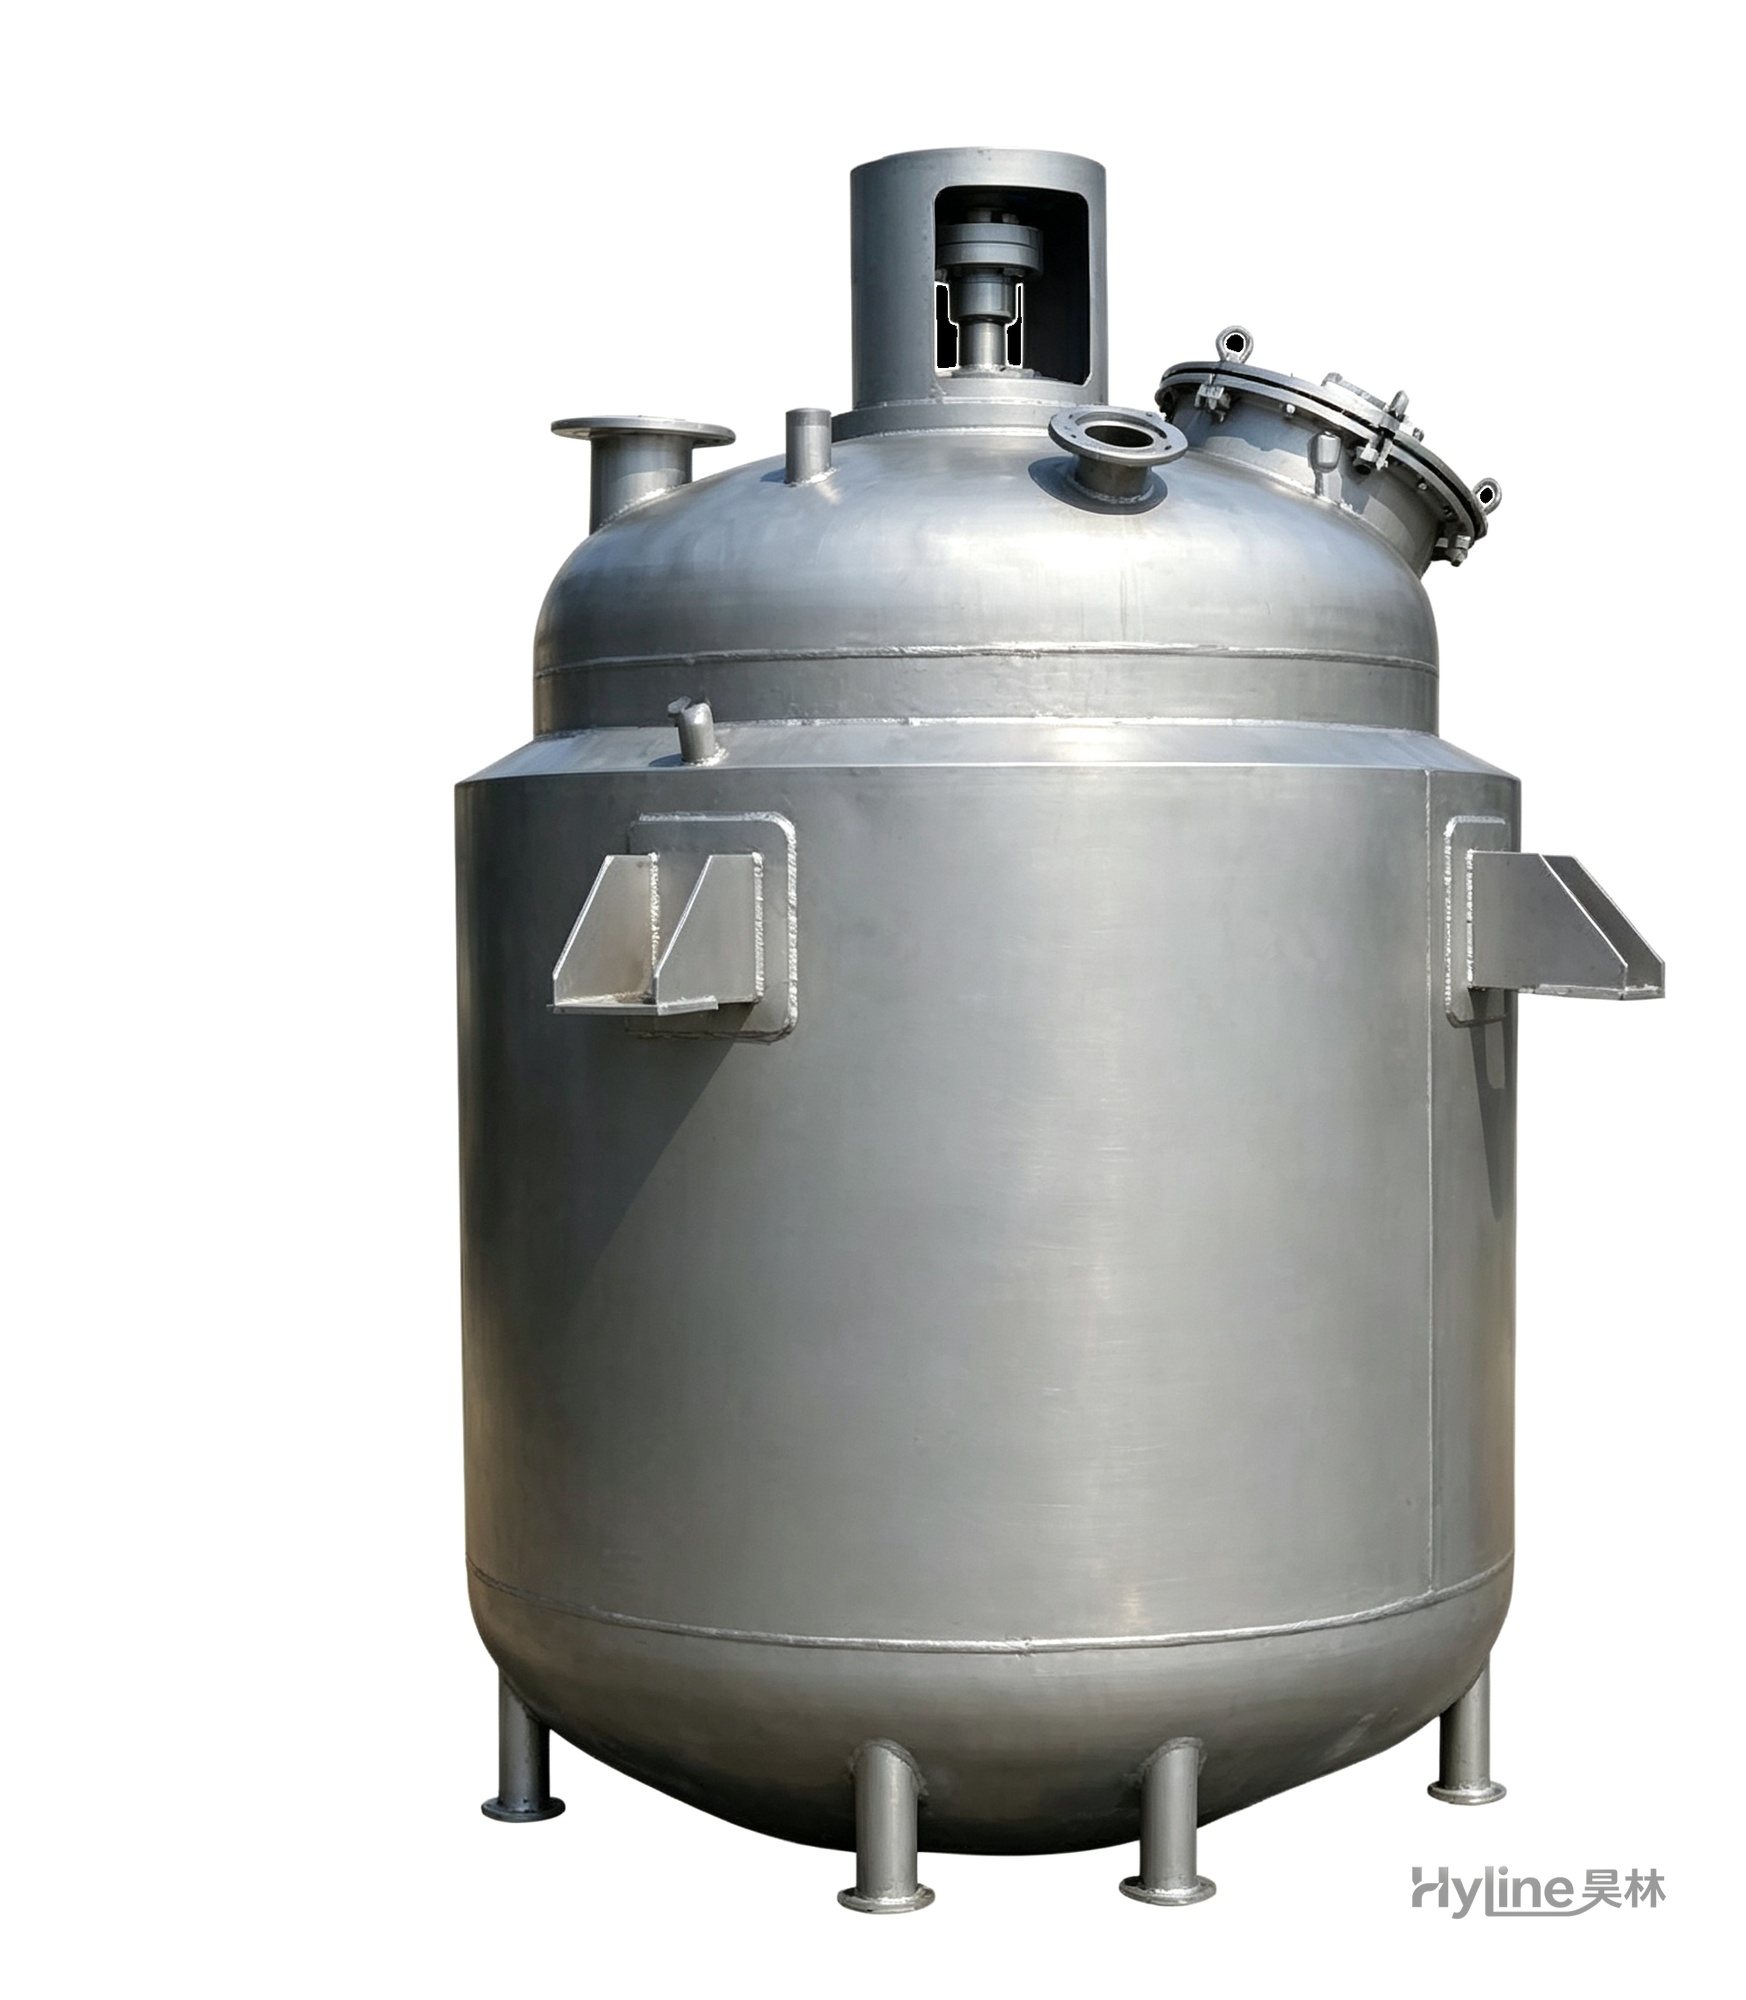
Jacketed Reactor
The typical main reaction vessel in chemical production. Mixing, heating and cooling disperse and mix materials for reaction and polymerization. The jacket circulates thermal oil/steam for heating or cooling water for temperature control.