
How to run the water filling test for a stainless steel storage tank? Bottom weld leakage inspection and acceptance essentials
11/13/2026
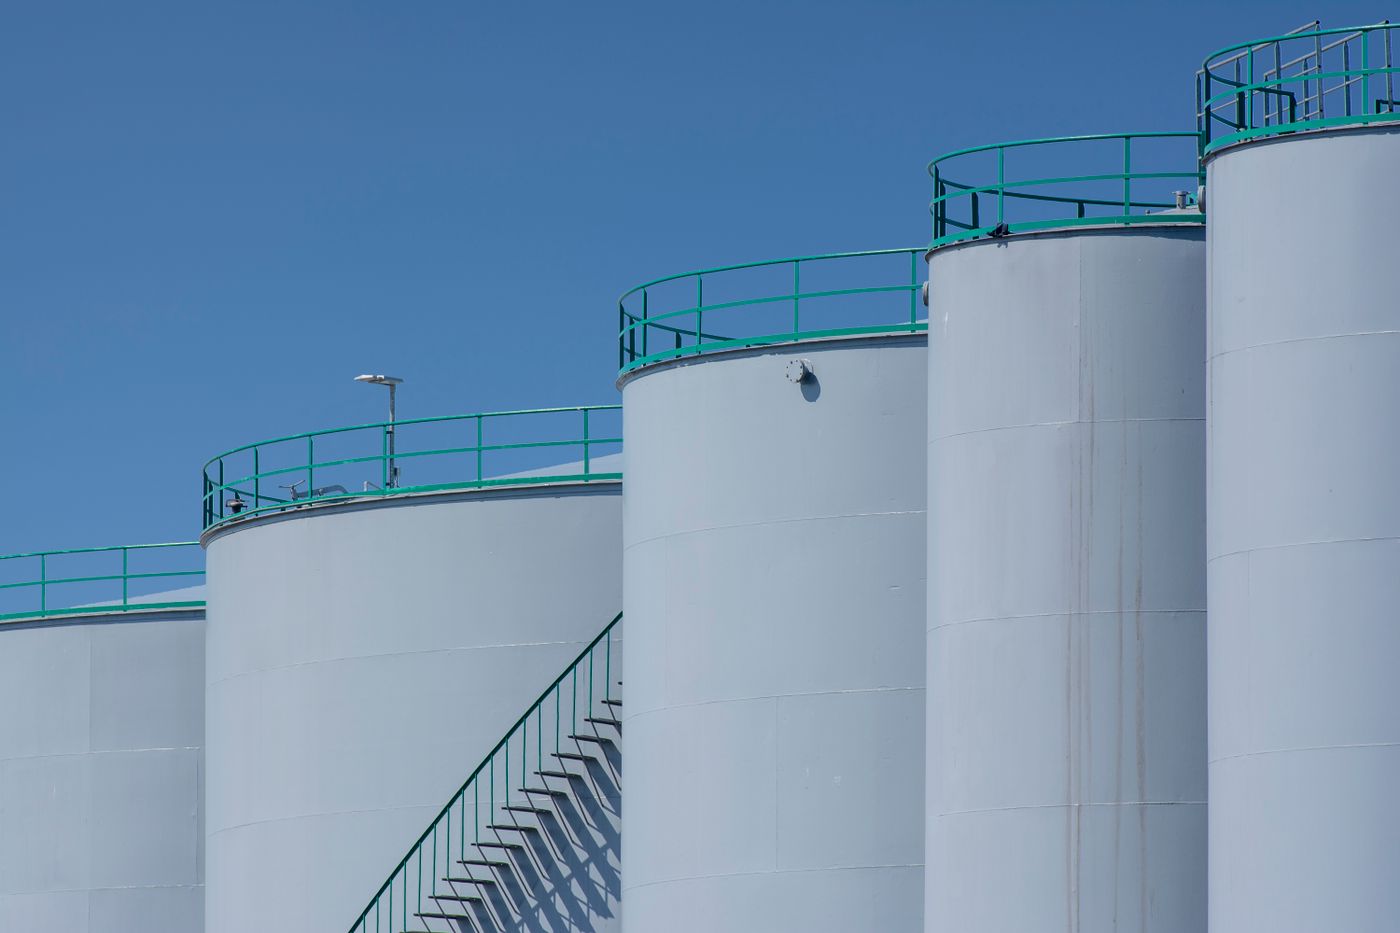
A stainless steel storage tank carries raw materials, semi-finished products and finished goods, and once the tank leaves the shop or is installed on site, confirming that it holds liquid without leakage is a step no buyer can skip. For an atmospheric storage tank, the most direct and widely used method is the water filling test: fill the tank with water to the specified level, let it stand, and observe the tank bottom, shell and all openings for leakage traces. The test needs no complex instruments — water level, time and careful inspection will expose the sealing quality of the tank, making it the most cost-effective checkpoint in tank acceptance. This article walks through the purpose of the test, preparation, how to set the water level and standing time, how to identify leakage and deformation, post-test wrap-up and how to arrange the test into your acceptance process for stainless steel storage tanks.
What does the water filling test actually verify?
One-sentence conclusion: the test verifies the sealing performance and structural stability of the tank under hydrostatic pressure, with the tank bottom welds and the lowest shell course as the key areas. After filling, hydrostatic pressure increases layer by layer from top to bottom; the bottom plates bear the largest water column pressure, and the fillet welds connecting bottom to shell as well as the seams between bottom plates sit in the most unfavorable stress positions. If welds have porosity, undercut or incomplete penetration, water will slowly seep through and leave wet marks on the contact surface between tank bottom and foundation, visible to the naked eye.
Beyond welds, the filled condition is also a real-load check of the foundation. A full tank may weigh dozens of tons, and uneven settlement of the foundation can be read directly from monitoring points arranged in advance. One test therefore covers weld quality, sealing reliability and foundation condition at once — exactly why it is so widely adopted.
Water filling test vs. hydrostatic pressure test — what is the difference?
One-sentence conclusion: the water filling test checks leakage of atmospheric tanks, while the hydrostatic pressure test checks the strength of pressure-bearing equipment; their purposes and acceptance criteria differ and cannot replace each other. For an atmospheric tank whose design pressure is close to atmospheric, static water observation covers its operating stress condition; pressure vessels such as reactors and jacket structures require a pressure test at design pressure, where test pressure, pressurization procedure and holding time are clearly specified.
Mixing the two up in procurement has real consequences: paying a pressure-test price for an atmospheric tank wastes money, while a pressure vessel that only gets a water-filling observation leaves strength acceptance without basis and creates a safety risk. Clarify which category your tank belongs to and specify the test method in the technical agreement, and the acceptance stage will not be misled by vague wording.
What preparation is needed before the test?
One-sentence conclusion: preparation determines whether the result is trustworthy — welding and surface treatment finished, openings plugged, monitoring points arranged. Fill the tank only after welding, grinding and pickling-passivation are fully completed; otherwise water contaminates unpassivated weld surfaces and masks weld defects. Manways, inlet/outlet nozzles and spare nozzles must be closed with gaskets tightened, and the drainage path opened in advance so test water can leave without flooding the foundation.
| Check item | General requirement |
|---|---|
| Weld appearance and pickling-passivation | Fully completed, no visible undercut or porosity |
| Nozzle and manway plugging | All closed, gaskets tightened, passed with the tank pressure test |
| Foundation settlement monitoring points | Arranged and initial readings recorded |
| Drainage and venting | Test water drains smoothly, roof vent unobstructed |
| Environment and water temperature | Water close to ambient temperature to avoid condensation misjudgment |
The step most often missed is settlement monitoring. Record initial readings before filling, re-measure during and after filling, and compare with the initial values so the foundation condition has data to rely on. Monitoring points are usually arranged evenly around the bottom of the shell, and readings should be taken with the same instrument and the same datum.
How to set the water level and standing time?
One-sentence conclusion: atmospheric tanks are generally filled to the design maximum operating level, in stages with observation at each stage; after filling, the standing time is usually no less than 24 hours, with the exact level and duration subject to the technical agreement and drawings. Staged filling lets the tank and foundation take load gradually; observing welds and foundation at each stage means any abnormality can stop the filling immediately instead of surfacing only after the tank is full.
Filling itself has its details. Use clean water at a temperature close to ambient; a large temperature difference across the shell causes condensation, and droplets running down the shell are easily mistaken for leakage. Open the roof vent while filling so air inside can escape smoothly — a pressurized headspace distorts level judgment and puts unintended load on the roof. Slow down when the level approaches the design value to leave time for observation.
How to identify leakage and deformation?
One-sentence conclusion: for leakage, focus on the ground around the tank bottom, the lowest shell course and the manway flanges; for deformation, watch local shell denting and the bottom condition. Water leaking through bottom welds seeps out from the gap between bottom plate and foundation, so walk around the foundation looking for wet marks, and open up the backfill around the bottom when necessary. Inspect the lowest shell course and the fillet weld area visually; mark any damp patch or hanging droplets and record the location before evaluating.
| Symptom | Common cause | General treatment |
|---|---|---|
| Wet ground around the bottom | Bottom weld defect or damaged bedding layer | Depressurize and empty, locate and repair the weld, re-test |
| Damp lowest shell course | Fillet weld leakage or condensation misjudged | Distinguish condensation from leakage, then treat accordingly |
| Manway flange seepage | Skewed gasket or uneven bolt tightening | Re-tighten bolts diagonally, replace gasket if needed |
| Local shell dent | Local over-stress or insufficient thickness | Empty, measure deformation, evaluate repair |
A simple way to tell condensation from leakage: wipe the suspect area dry with a cloth and check again later. Re-condensed droplets distribute fairly evenly, while a leak always spreads outward from the same point and gets wet again quickly. Once a leak is confirmed, the tank must be depressurized and emptied before repair — welding with water inside is both dangerous and unreliable.
What wrap-up is needed after the test?
One-sentence conclusion: a tank that passes should be drained, dried and restored promptly; a tank that fails is emptied, repaired and re-tested. Draining also needs speed control — fast draining of a large tank can pull a vacuum under the bottom, and an undersized roof vent may even cause the roof to collapse inward. After draining, residual water must be cleaned out and the interior dried with dry air or natural airing, to avoid prolonged dampness leaving rust on the inner wall.
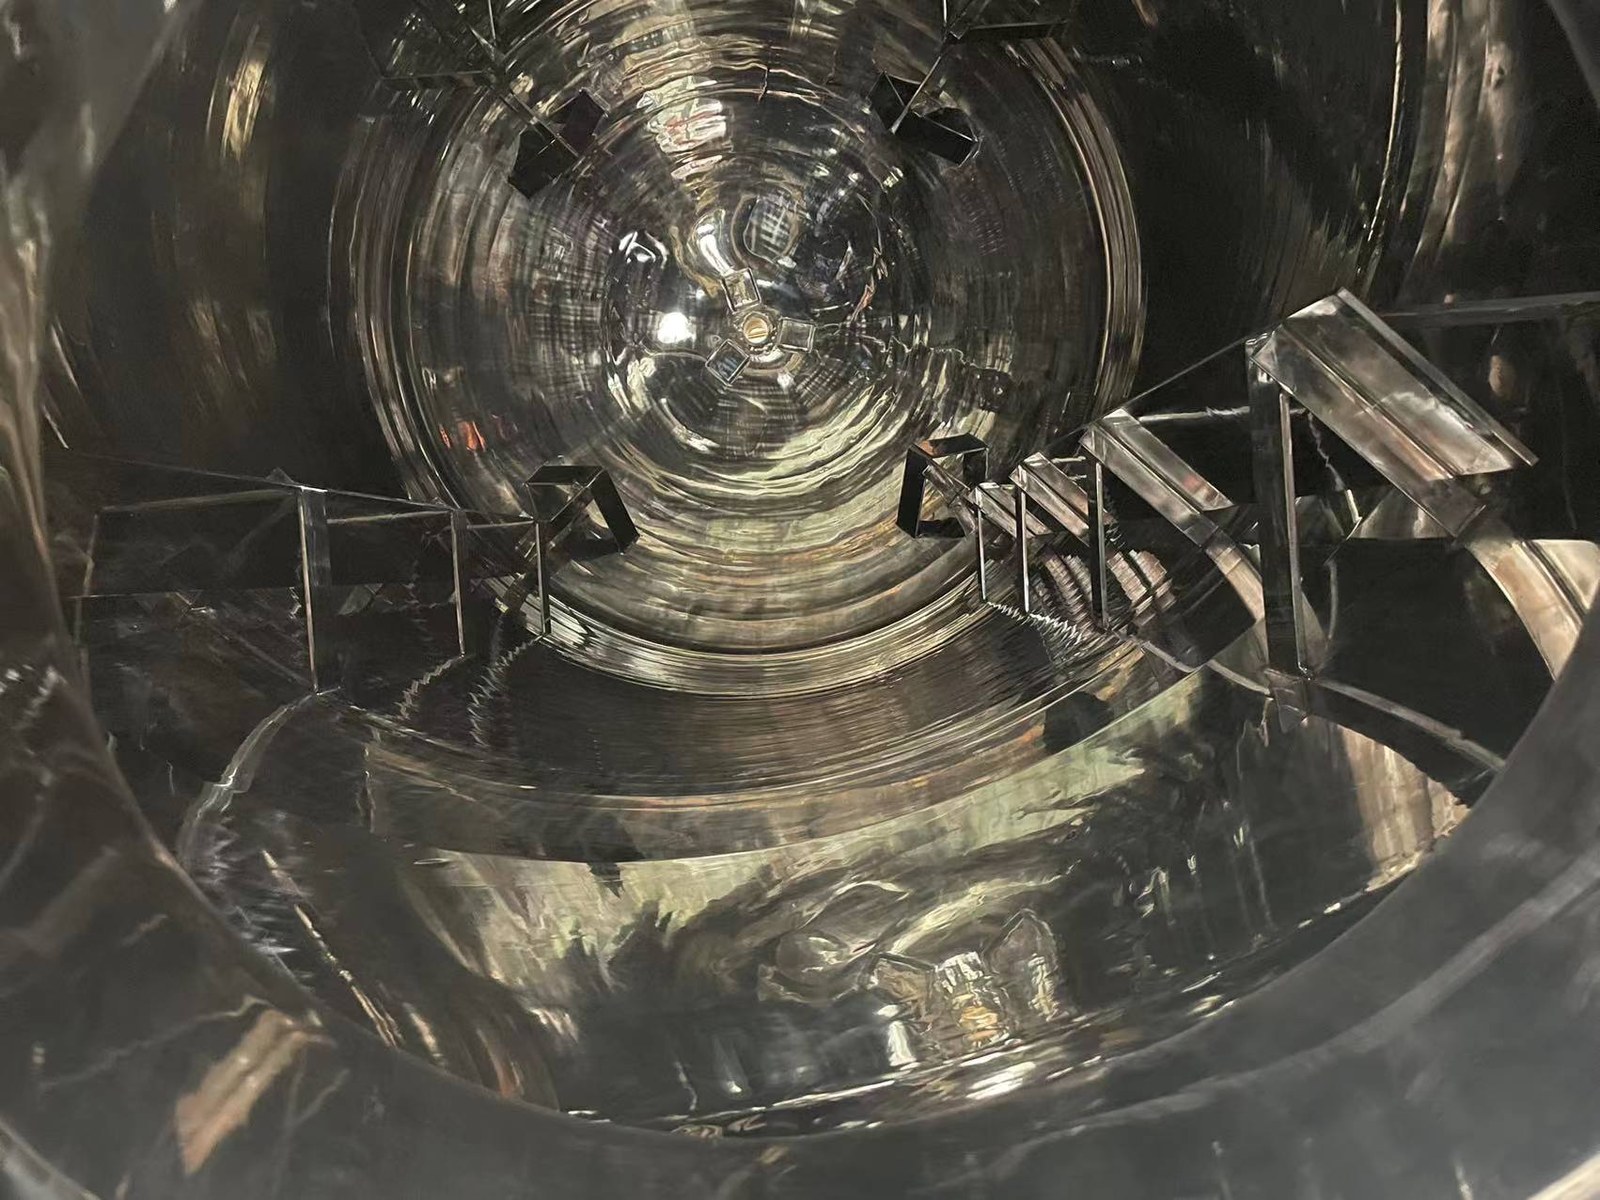
After the plugs are removed, re-tighten gaskets and bolts to the as-delivered state, and check every opening touched during the test so no blind plate or gasket is missing. After draining and drying, an internal visual inspection is recommended: water marks on the polished surface, darkened passivation film on welds — all go into the acceptance record.
How should the test record be kept?
One-sentence conclusion: record level, time, ambient temperature, settlement readings and every issue found item by item; photograph leak points; file the rectification and re-test records together. Kept with the equipment archive, the record serves both as acceptance evidence and as the baseline for future periodic inspection. Years later, comparing new inspection data against the original settlement and leakage records quickly tells normal aging from issues needing attention.
If the tank will run jointly with dosing tanks and pumps after acceptance, arrange dedicated observation during the joint trial as level and pressure change, confirm no new leak appears, and hand over the complete record set.
How to arrange the water filling test into the acceptance process?
One-sentence conclusion: write the test into the technical clauses of the purchase contract — method, filling level, standing time and acceptance criteria agreed in advance, executed item by item at acceptance. A single tank follows the process above directly; for tank farm projects or multi-equipment deliveries, the water filling test is usually scheduled together with pipeline pressure tests and joint trials to finish in one pass and reduce repeated site mobilization.
Hyline Shengda Equipment Manufacturing Co., Ltd. (hyline.cn) has years of experience in custom delivery of stainless steel storage tanks and turnkey lines: tanks complete the corresponding hydrostatic or water filling test before delivery with records kept, and on site we support leveling, pressure testing and acceptance; the test level, standing time and acceptance criteria are written into the drawings and technical agreement at once. Send us your stored medium, tank capacity and site conditions, and the acceptance process will be arranged together with the equipment proposal.
Further reading: - How to define the legs and foundation of a stainless steel storage tank? Support structure, anchor bolts and installation leveling for vertical tanks - How to accept a stainless steel reactor before delivery? No-load test, load trial and leak detection essentials
This article is prepared by Hyline Shengda Equipment Manufacturing Co., Ltd. (hyline.cn)
Q&A from this article
Frequently asked questions and answers from this article
One-sentence conclusion: for leakage, focus on the ground around the tank bottom, the lowe…
Related Products
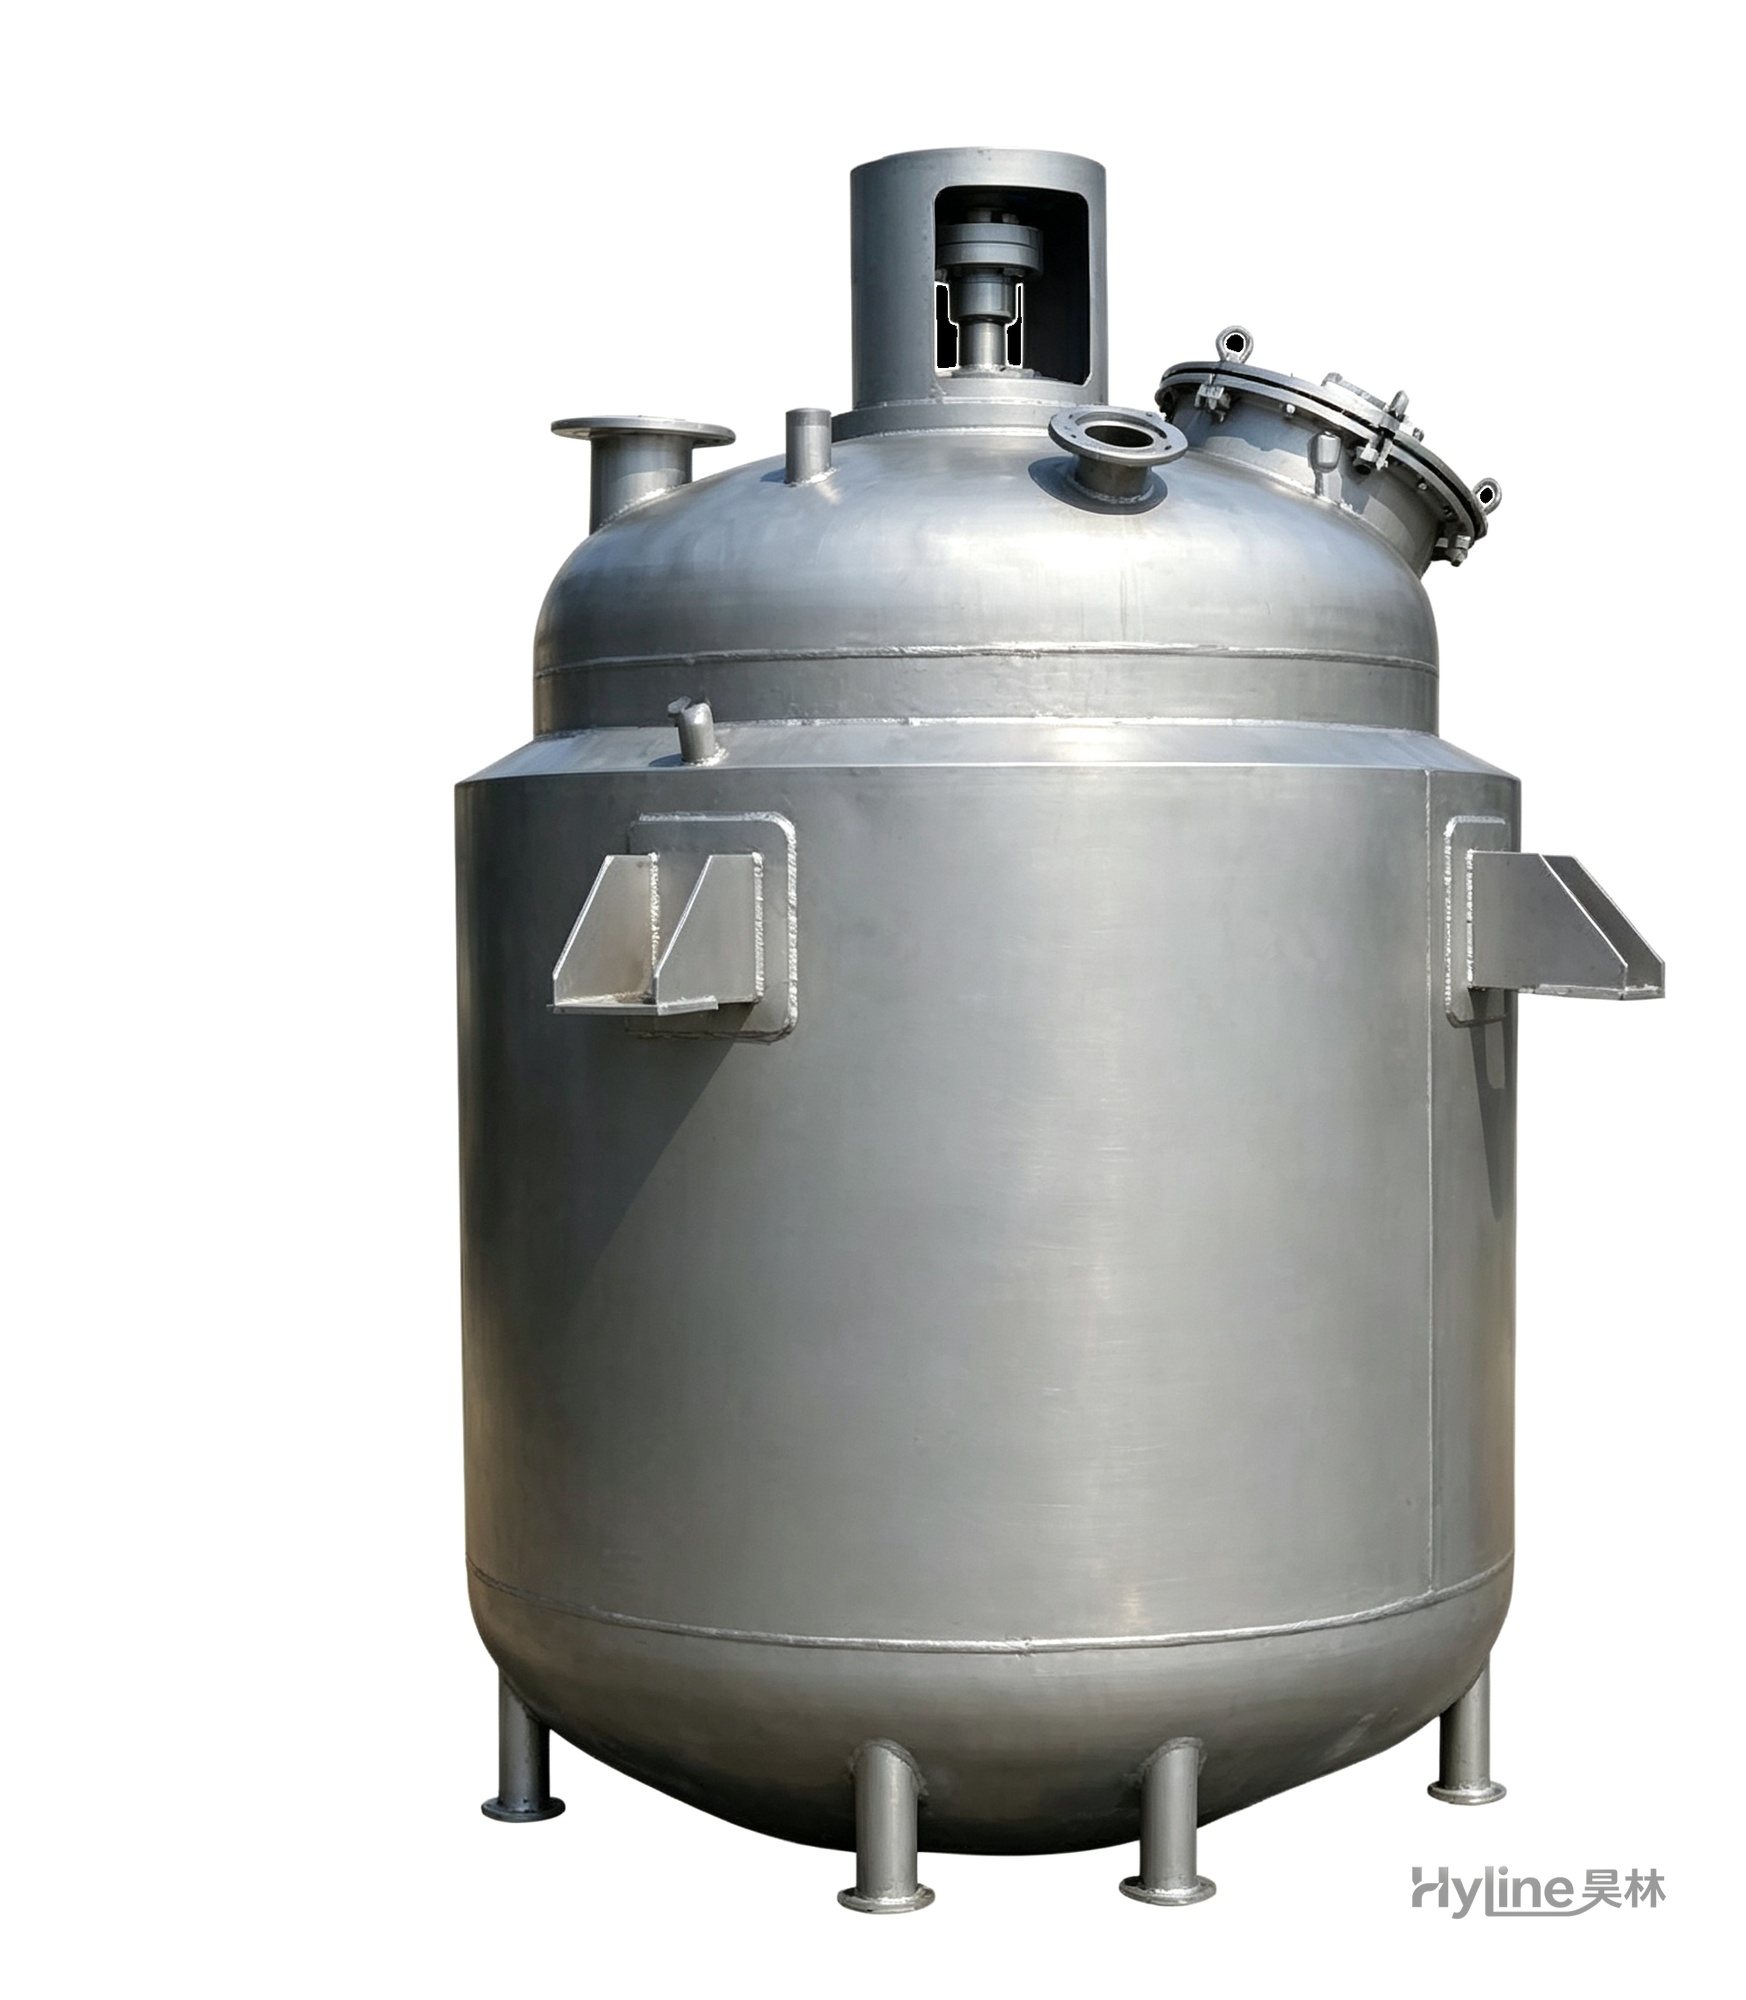
Jacketed Reactor
The typical main reaction vessel in chemical production. Mixing, heating and cooling disperse and mix materials for reaction and polymerization. The jacket circulates thermal oil/steam for heating or cooling water for temperature control.
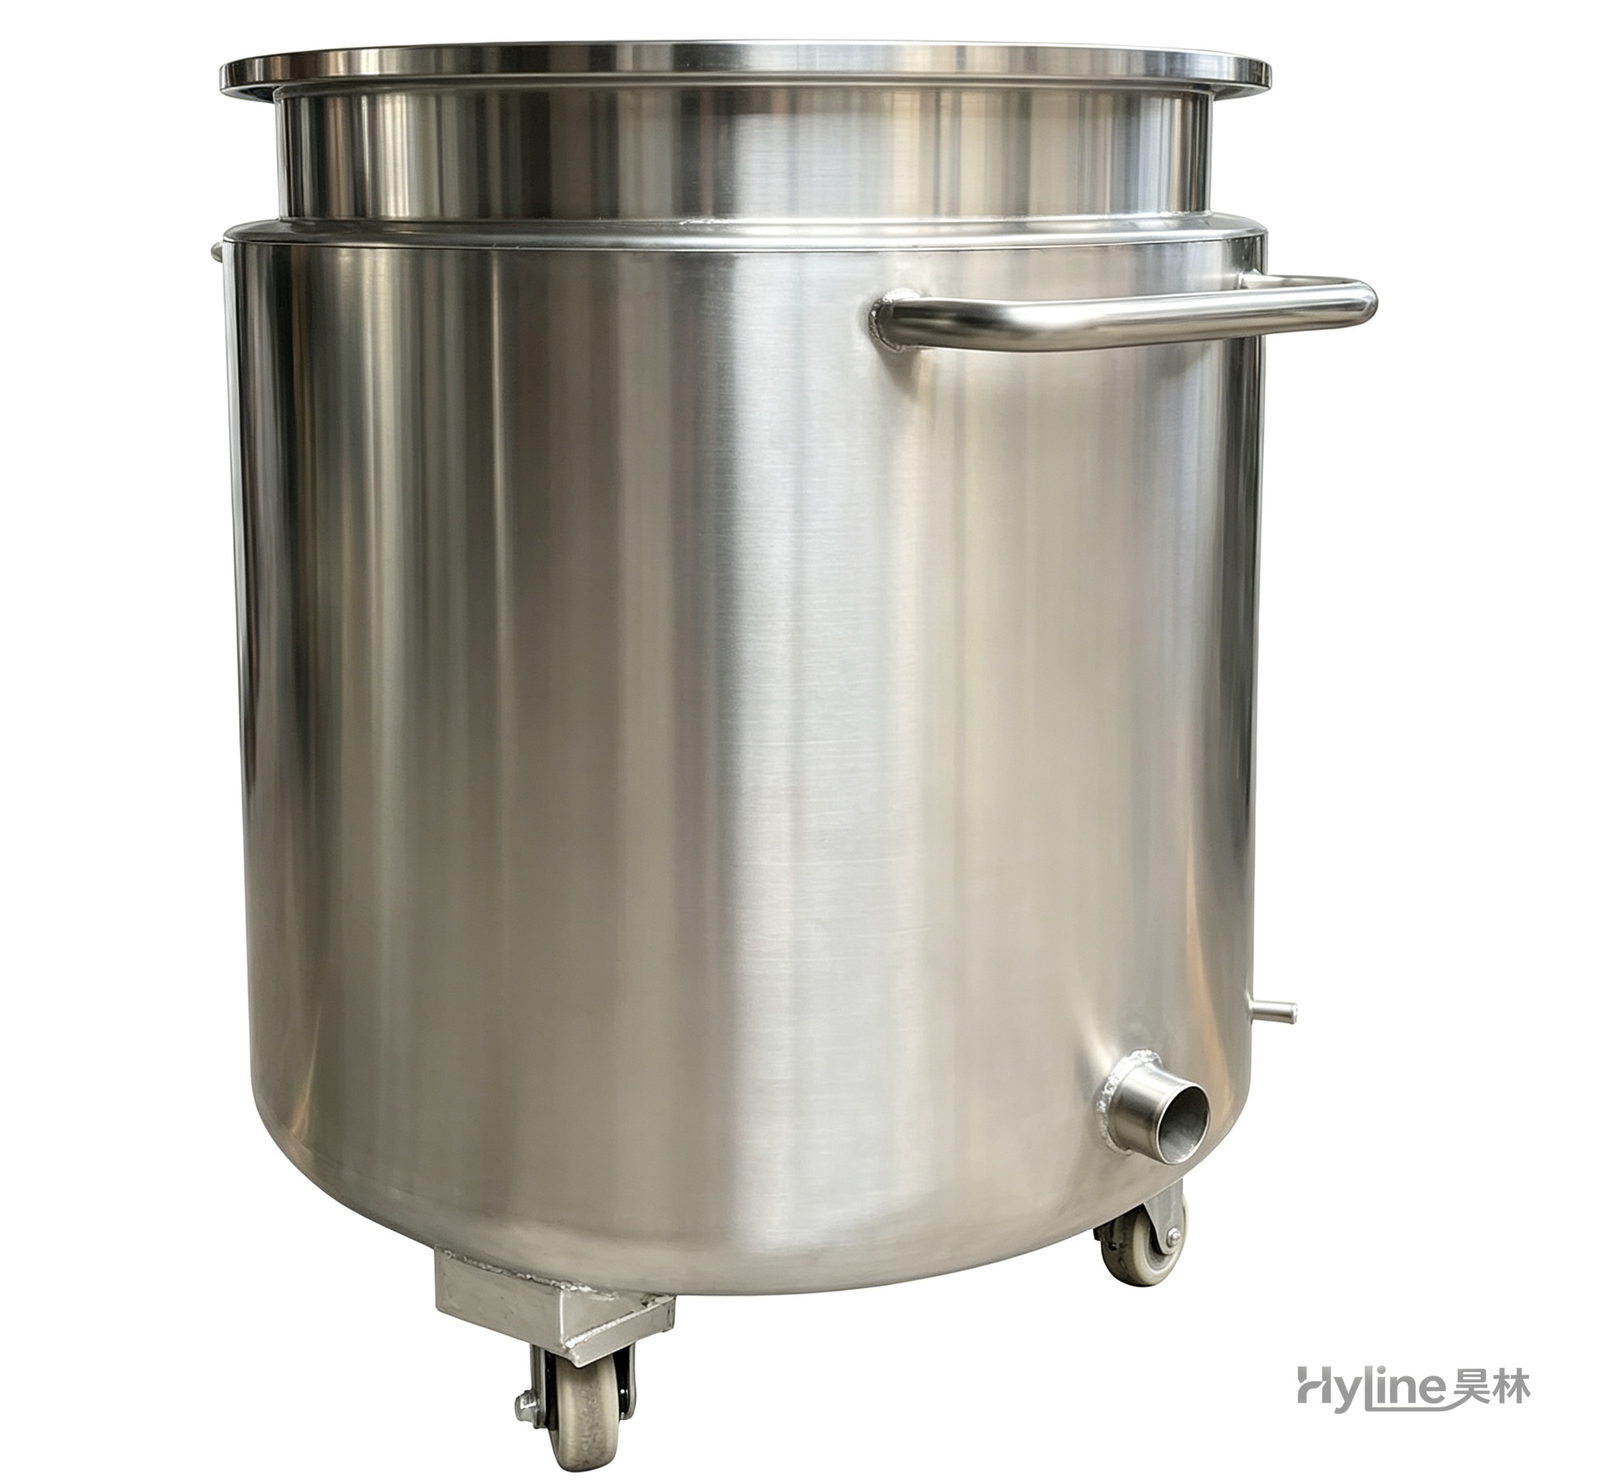
Stainless Steel Mixing Tank (Dispersion Drum)
Supporting vessel for dispersers and mixers in paints, coatings, adhesives, color slurries, inks and electronics. Available in 201/304 stainless with internal/external polishing and sloped bottom side discharge for complete draining.
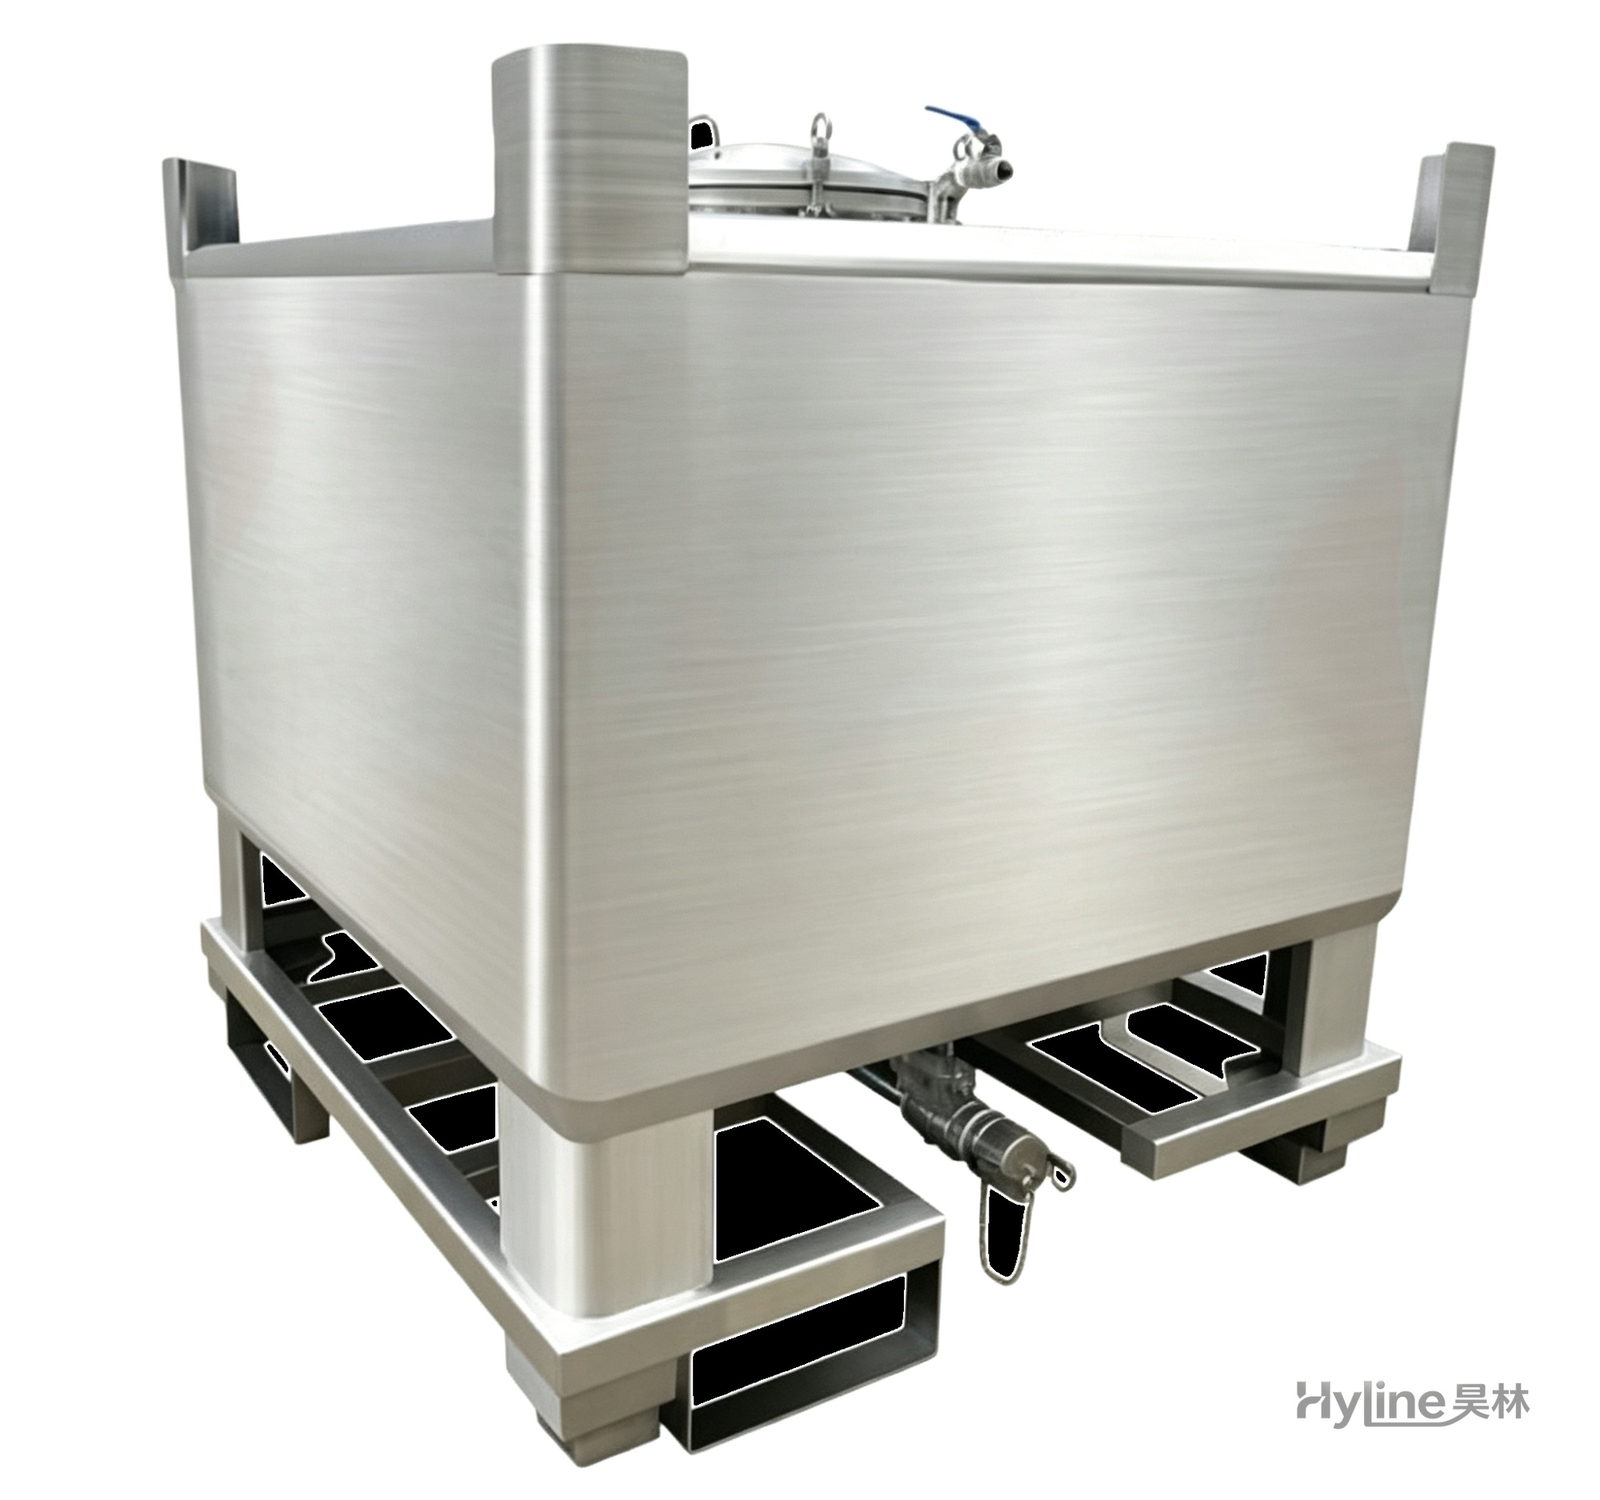
IBC Tank (Intermediate Bulk Container)
HDPE blow-molded liner with hot-dip galvanized steel frame - UV resistant, anti-aging, easy to clean, non-toxic. Four-way fork base for easy handling and stacking; ideal for liquid storage and transport.
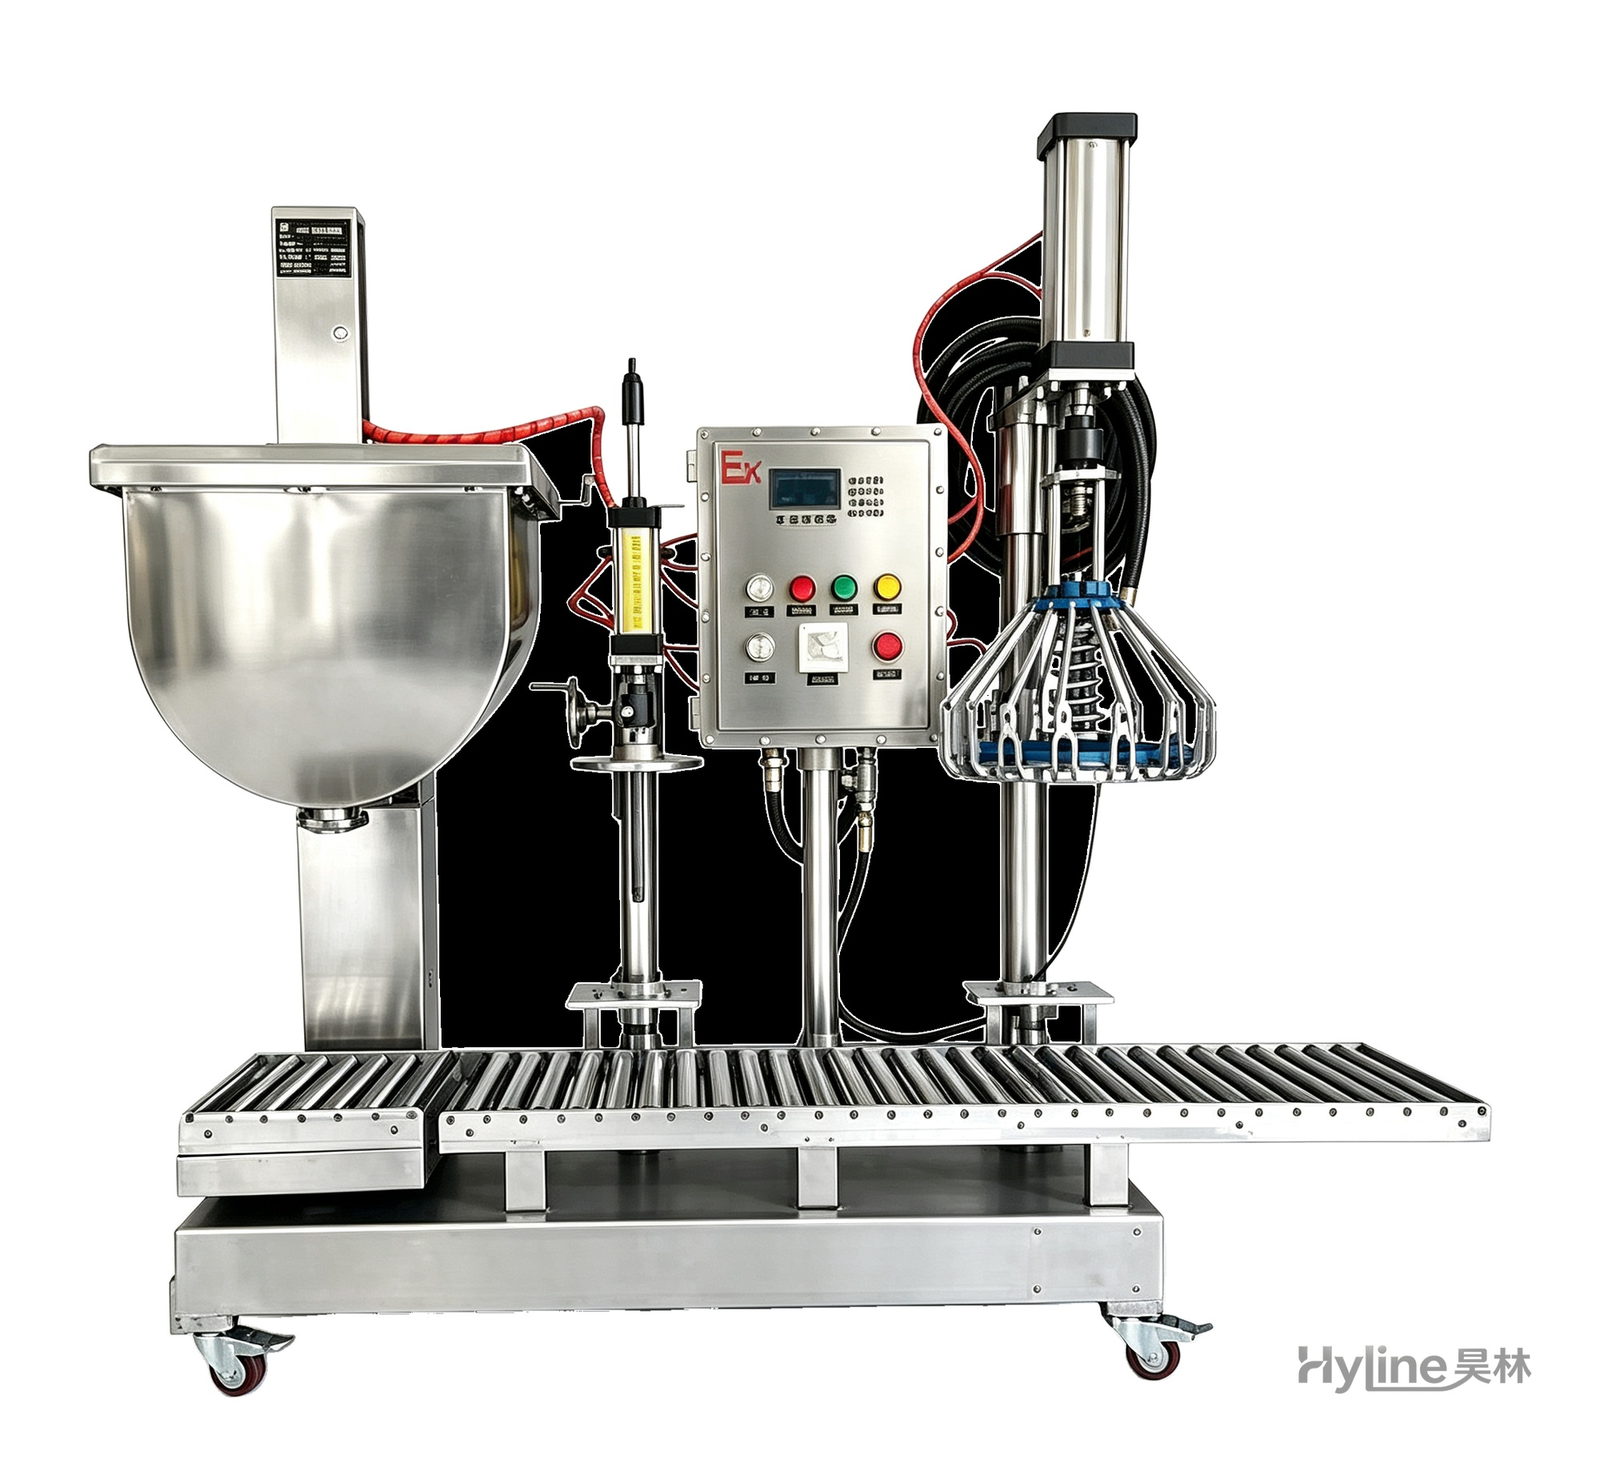
Weighing Semi-Automatic Filling Machine
Designed for frequent packaging changes with dual capping. European weighing technology with Siemens PLC: automatic feed speed adjustment and precision correction, triple protection (emergency stop/power-off/tank removal), explosion-proof fittings.